Spring is full of new life, green grass, and sunshine! It’s also time to get back into the garden. Here are some tips to keep you and your garden on track this spring.
In the fall or early winter, you may have added some winter protection, like mulch or leaves, to the base of your plants to keep them warm throughout the cold season. When spring hits, it’s important to remove that winter protection.
Mulch acts as an insulator, and when the sunshine and warm temps return, your plants won’t need any more help to keep warm. Wait until the last snowfall or final deep freeze to remove any winter protection. If you’re unsure when that might be in your area, stay tuned in to your local weather.
Note: If you remove your winter protection but you see a cold snap coming your way, just add it back until the warm weather returns.
Once the weather starts warming up, it’s important to start ramping up how much you water your plants. However, it’s still important to always check the soil before watering by sticking your finger in the soil at the base of the plant. If the soil is wet, there is no need to water it that day, but do check back tomorrow. If the soil is dry, it’s ready for some water.
Generally, it’s best to give your plants a deep, thorough soak and end up watering less often than watering them a little bit every day. The younger a plant is, the more water it will need. If you’re planting a new Berry White® Panicle Hydrangea this spring, you’ll need to water that one more often than the three-year-old Berry White® you already have in the yard.
Remember that natural rainfall counts as watering. If you’ve received a bit of rain that week, you might not need to water as much. Check out our blog on watering shrubs and trees to learn more.
As each plant variety requires something slightly different, there is no simple answer to spring pruning. Generally, summer flowering shrubs set their flower buds starting in spring, so early spring pruning is ok to do. Panicle hydrangeas are one such plant that benefits from some early spring pruning.
However, make sure to review how to prune panicle hydrangeas before diving in with your pruners. Early spring is also a great time to selectively prune any old or dead shoots. On the other hand, spring-flowering trees and shrubs like lilacs, magnolia, azalea, spirea, flowering crabapples, pearlbush, and serviceberry all benefit from some pruning right after they finish flowering.
Like pruning, each shrub and tree require something a little different when it comes to fertilizing. However, there are some general tips that can help lead the way. Apply fertilizer in early spring when you start to see new growth.
For trees and shrubs, we recommend using a well-balanced, slow-release granular or spike-form fertilizer. If you’re fertilizing container plantings, you can use a water-soluble type. Make sure to follow the directions on the bag for instructions on how to apply. Check out our video on spring fertilizing tips for some quick tips.
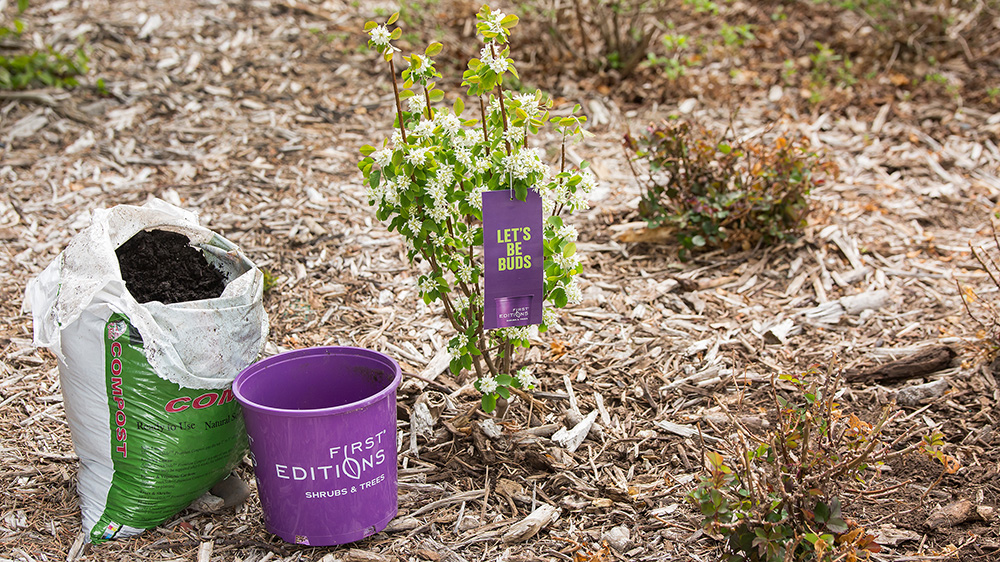
We’ve covered tips for your current plants in the ground, but what about those new First Editions® you just picked up at the garden center? Spring is an ideal time to get new plants in the ground, but there are a few things you can do to make them extra comfortable in their new home! Head to our planting and care blog to learn even more.
Reference the plant tag to determine what conditions your new plant loves, and pick a place in your landscape that reflects that.
Once you have the site picked out take some time to assess the soil. Most shrubs can grow in different soil types, but they generally prefer well-drained soil. A rich loam soil with at least 5 percent of organic matter is ideal.
If you aren’t sure what type of soil you have, pick up a soil test at your local garden center. Follow the instructions on the package to determine the texture, pH, and nutrients present in your soil.
For the best garden design results, place your plants in the spaces you’re hoping to plant and take a step back. If you’re happy with how that looks, dig a hole slightly larger than the pot size and place any fertilizer, organic material, or nutrients needed to improve your soil mix in the hole.
Then, place the plants. If you see that the roots are tightly packed, loosen them with your fingers before planting to encourage better root growth. For shrubs, make sure where the base of the stems meets the soil is even with the ground level. For trees, make sure where the trunk flares out to the root system is even with the ground level.
Next, refill the hole, packing soil firmly around the crown or root flare to create a dam around the plant. Fill that dam with water, let it drain, and then refill it again.
And that’s it! You’ve planted a shrub or tree that will add beauty and interest to your space for many seasons to come.
You can shop online during our shipping season or use our Find a Retailer tool to locate First Editions ® plants at garden centers near you. Sign up for our monthly newsletter and remember to follow us on social for even more tips, tricks, and inspiration.