Nothing makes a space more festive than adding a bit of decor! Autumn is ripe for the opportunity to decorate with bright colored leaves, aged flowers, pumpkins, and the like in celebration of Halloween and Thanksgiving. So get ready to bring the autumn vibes with these easy to make DIY miniature arrangements.
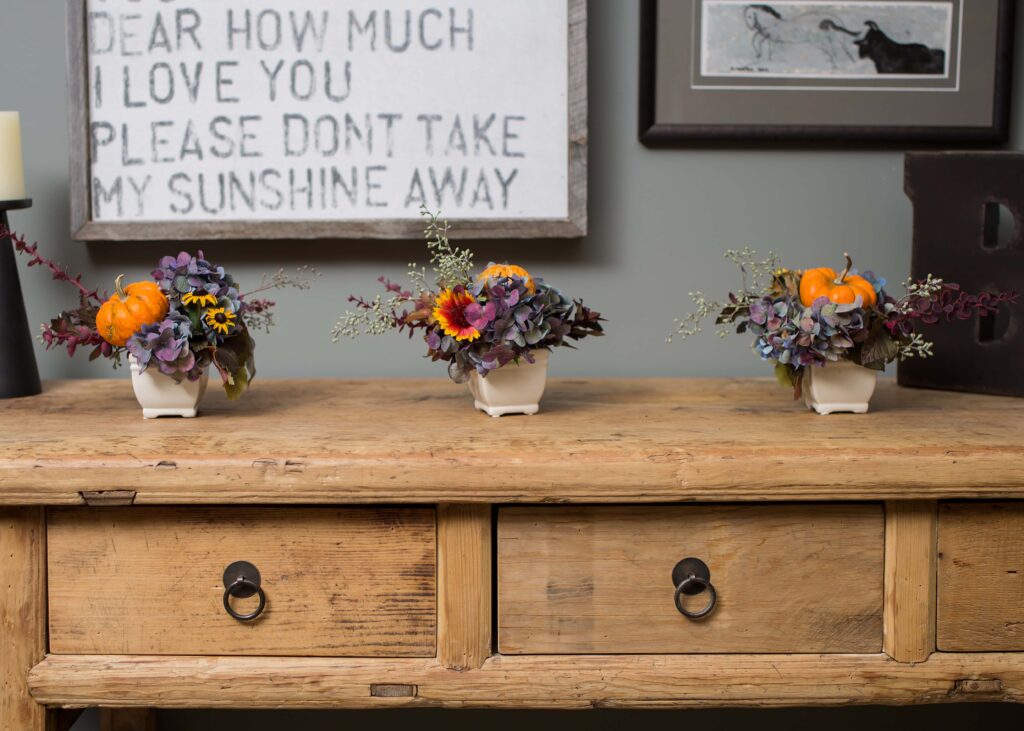
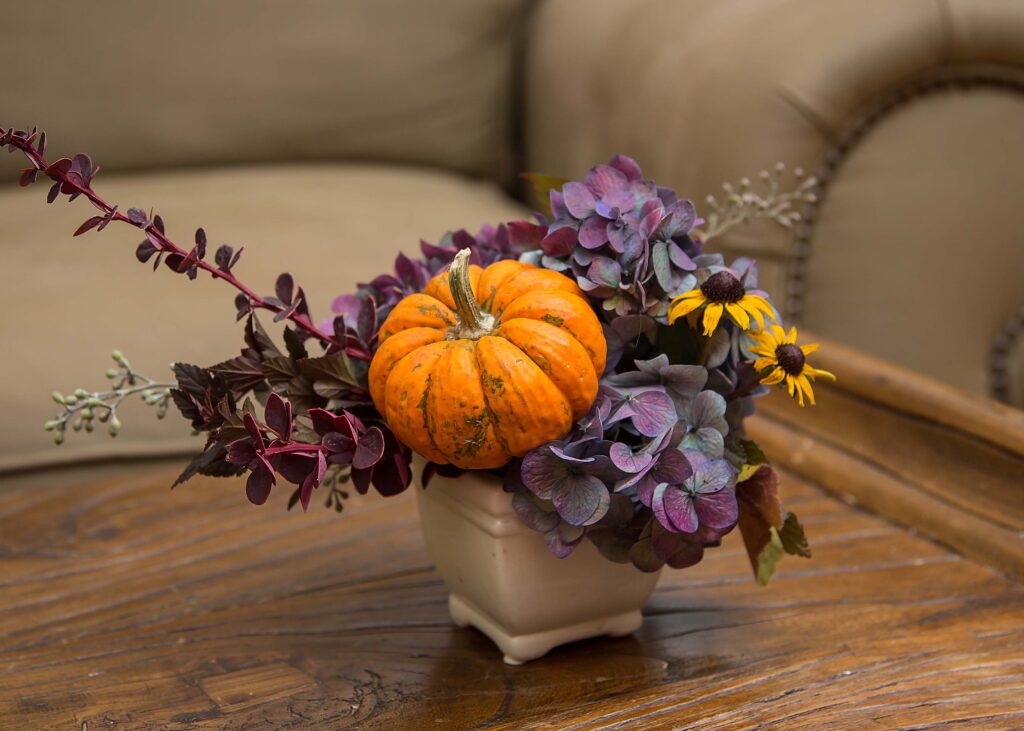
These little cut arrangements feature gorgeous fall foliage from our collection, Endless Summer® Hydrangeas, and other garden favorites. These cute arrangements are ideal for coffee tables, mantles, or even your Thanksgiving table centerpiece, and are sure to make your guests swoon.
You’ll want to work with a clean vase. If you have bleach, fill the vase with a bleach solution (one-part bleach to 10 parts water) to eliminate any harmful bacteria and let the mixture sit. Once some time has passed, pour out the solution and wash the vase with warm, soapy water. If you don’t have bleach, no worries. Just warm, soapy water will work, but make sure you give it a good scrub.
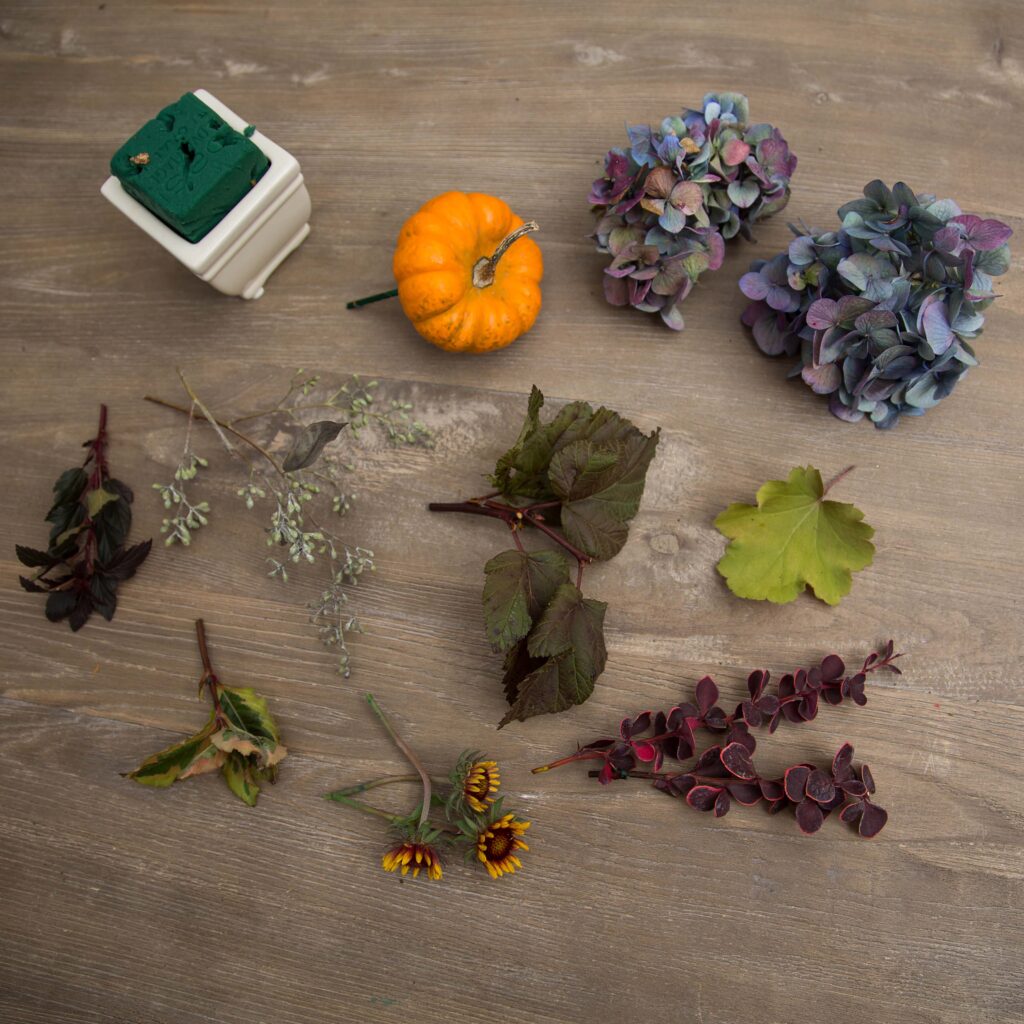
For these arrangements, we used small, opaque vases with floral foam instead of water. Floral foam is a great way to control the design of the arrangement more than those arranged in water. If you use floral foam at home, you will want to pre-soak the foam before arranging. To do so, cut the foam into the desired shape to fit inside your vase — no need to cut it perfectly. Then, fill a bowl with water and gently place the foam on the top. Don’t push the foam down. It might take a few minutes, but the water will soak into the foam all on its own without you submerging the foam. Once it’s thoroughly soaked, place it on a towel or in your vase in preparation for arranging.
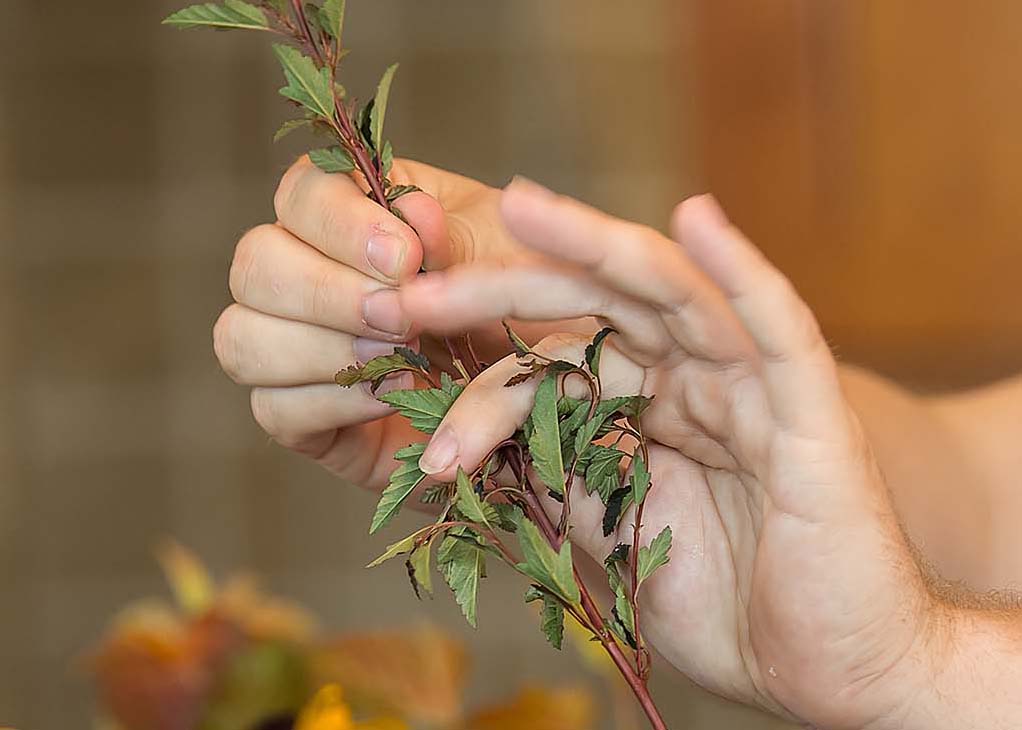
For this arrangement, we wanted to highlight some gorgeous fall foliage with beautiful fall blooms. Have fun at home with your creations and designs. Maybe you want to feature your favorite rose, hydrangea, or fall foliage. Whatever you choose, make sure that when you cut your flowers, you put them in a bucket of water as they sit to be arranged. You also need to remove any leaves on the stem that will get in the way of the foam.
Now it’s time to get creative! We’re planning on using ours as little Thanksgiving decorations on tables, so we wanted the design to be low and wide. That’s one interpretation of how they should look, but not the only one. As we said, have fun, get creative, and design for your space and style.

These are gorgeous decorations that celebrate Thanksgiving, but you can easily follow these same steps during spring and summer to decorate with your First Editions® year-round. Remember to share your arrangements with us on social by tagging @firsteditionsshrubstrees so we can share the love!